Sui Move dApp
In this guide for Sui developers, you'll learn how easy it is to create a Sui dApp React frontend and configure your dApp for Movement Network.
Requirements
Make sure to have Sui CLI installed.
View an example of the finished dApp here.
Initialize your Environment
Initialize your Sui profile for your package development and add M2 as a custom network. M2 is our current blockchain that supports Sui deployments.
sui client new-env --rpc https://sui.devnet.m2.movementlabs.xyz:443 --alias m2
Now Switch to the M2 environtment
sui client switch --env m2
Setup
We will bootstrap our dapp with the following command provided by Mysten Labs:
npm create @mysten/dapp
When you're prompted to choose a starter template, select react-e2e-counter.
Navigate into your dApp's folder and open it in an editor. Here we are using VS Code.
cd your-dapp-name
code .
Publish the Smart Contract
Navigate into the move/counter directory and switch your Sui environment to M2:
cd move/counter
movement sui client new-env --rpc https://sui.devnet.m2.movementlabs.xyz:443 --alias m2
movement sui client switch --env m2
Now you can publish your counter.move module:
movement sui client publish --gas-budget 20000000
Once the package is published, get its ID from Transaction Data under Object Changes > Published Objects.
Configure the Frontend
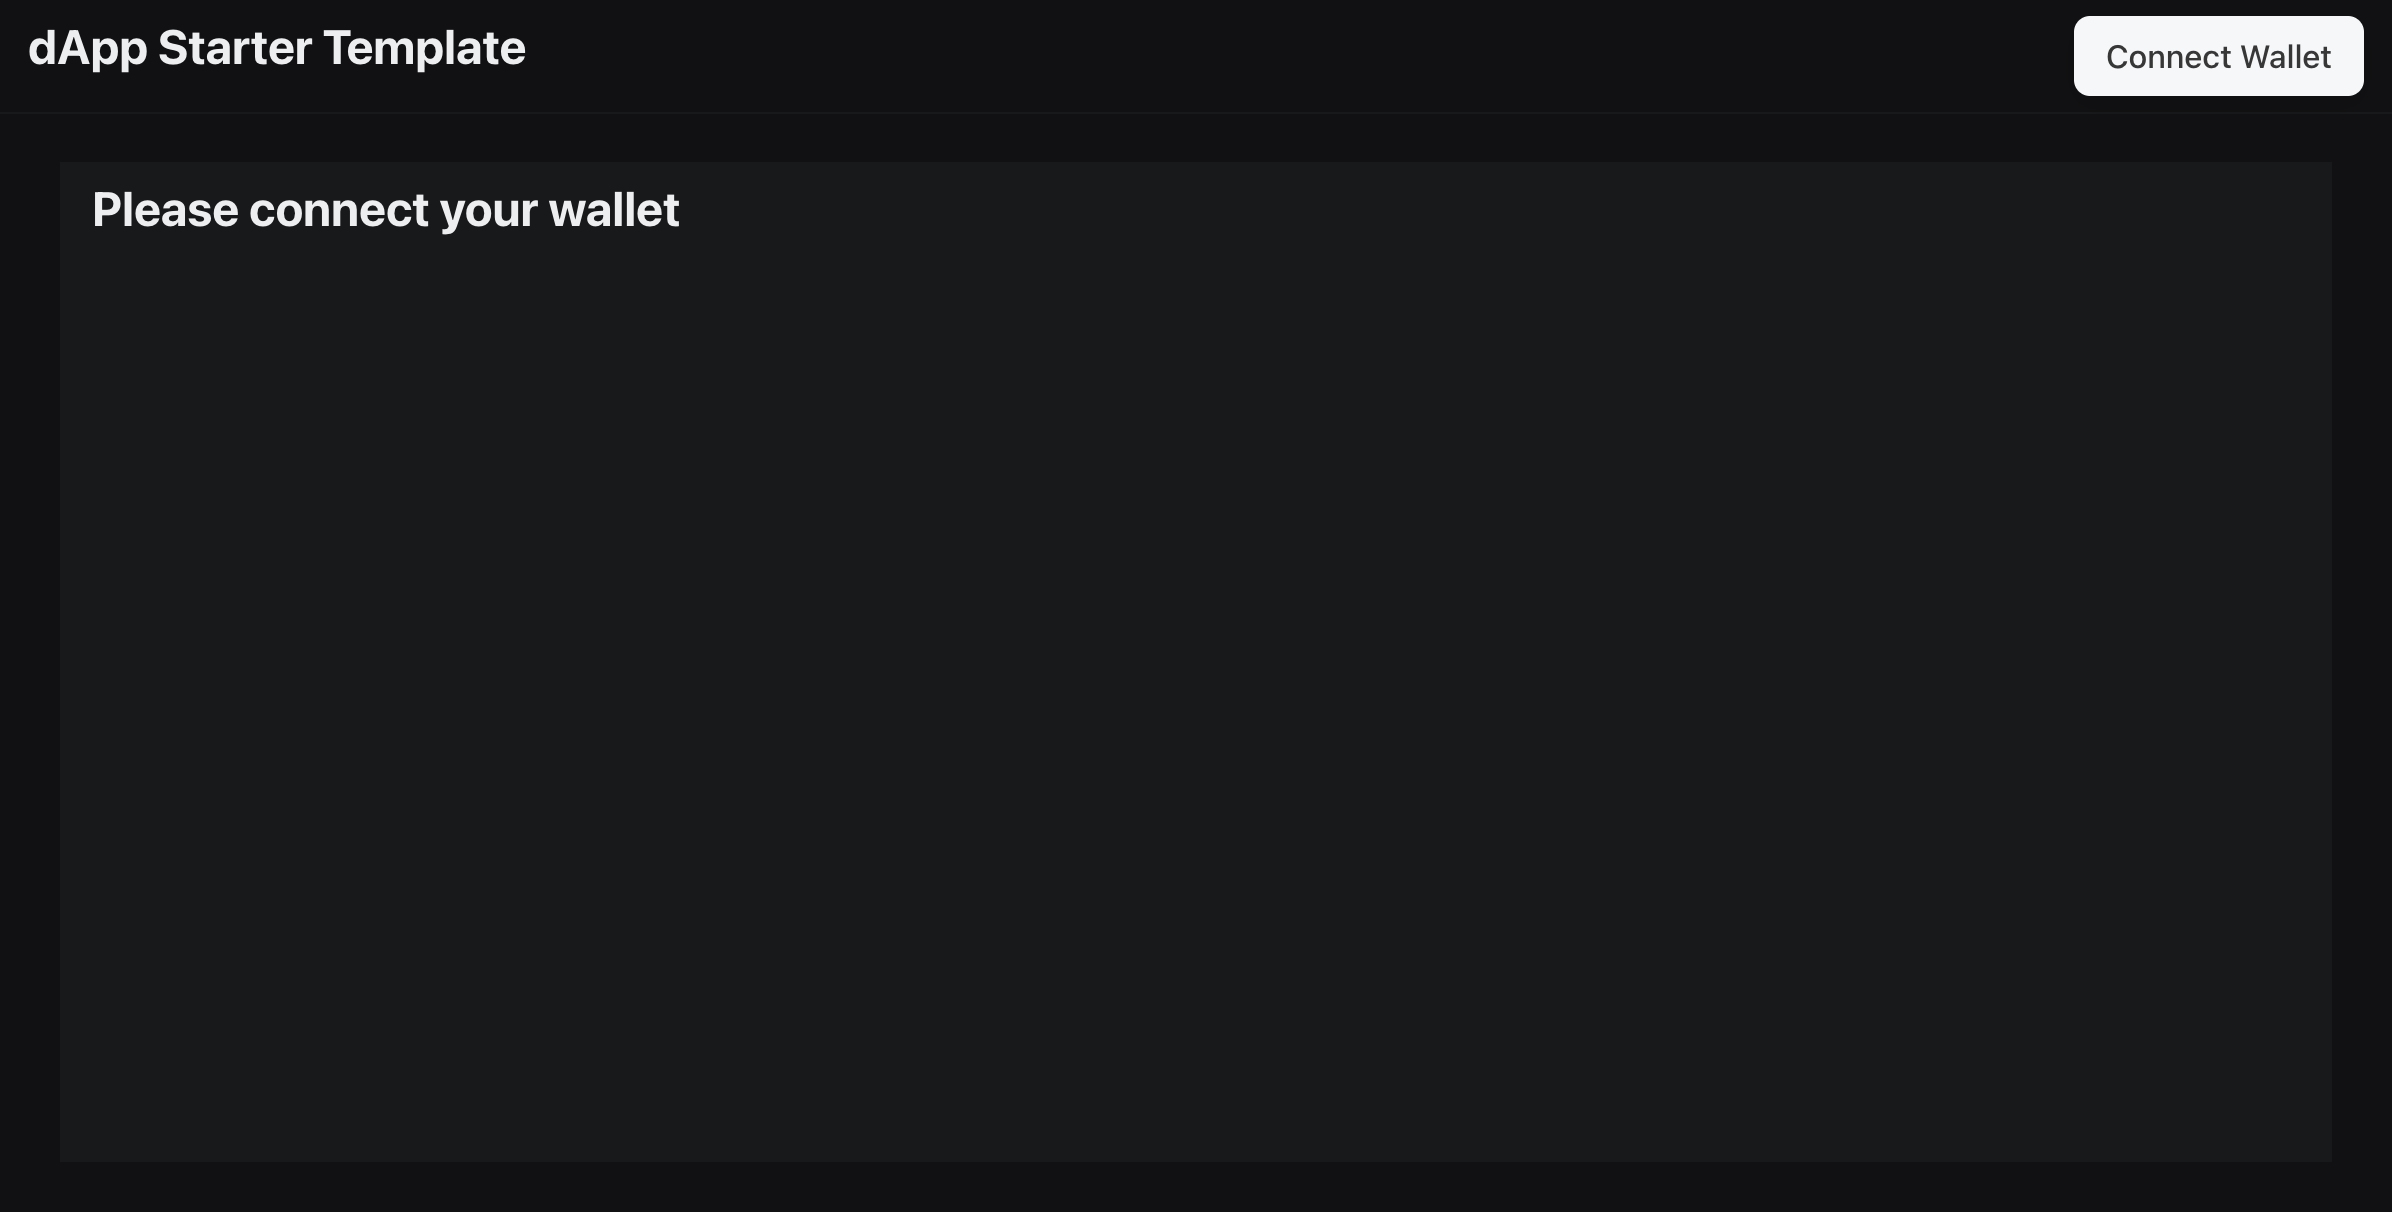
Navigate back into your project's root directory and launch your app:
cd ~
npm run dev
Your dApp will appear in your browser:
Configure your Sui dApp for Movement M2
In constants.ts, begin by export M2_COUNTER_PACKAGE_ID using the package ID from the publishing step:
export const DEVNET_COUNTER_PACKAGE_ID = "0xTODO";
export const MAINNET_COUNTER_PACKAGE_ID = "0xTODO";
export const M2_COUNTER_PACKAGE_ID = "<your-counter-package-ID>";
Now add M2_COUNTER_PACKAGE_ID At the top of networkConfig.ts, and Movement Network's M2 network configuration containing the package ID and its RPC.
import {
  DEVNET_COUNTER_PACKAGE_ID,
  MAINNET_COUNTER_PACKAGE_ID,
  M2_COUNTER_PACKAGE_ID
} from "./constants.ts";

const { networkConfig, useNetworkVariable, useNetworkVariables } =
  createNetworkConfig({
    devnet: {
      url: getFullnodeUrl("devnet"),
      variables: {
        counterPackageId: DEVNET_COUNTER_PACKAGE_ID,
      },
    },
    mainnet: {
      url: getFullnodeUrl("mainnet"),
      variables: {
        counterPackageId: MAINNET_COUNTER_PACKAGE_ID,
      },
    },
    m2: {
      url: "https://sui.devnet.m2.movementlabs.xyz:443",
      variables: {
        counterPackageId: M2_COUNTER_PACKAGE_ID,
      },
    },
  });
Now you can set the default network to M2 in main.tsx!
<SuiClientProvider networks={networkConfig} defaultNetwork="m2">
Using your counter dApp
To use the dApp, first configure a Sui wallet to M2.
Head over to the Movement Faucet and fund your M2 testnet wallet.
Now the fun part! Connect your wallet to your dApp and create a counter!
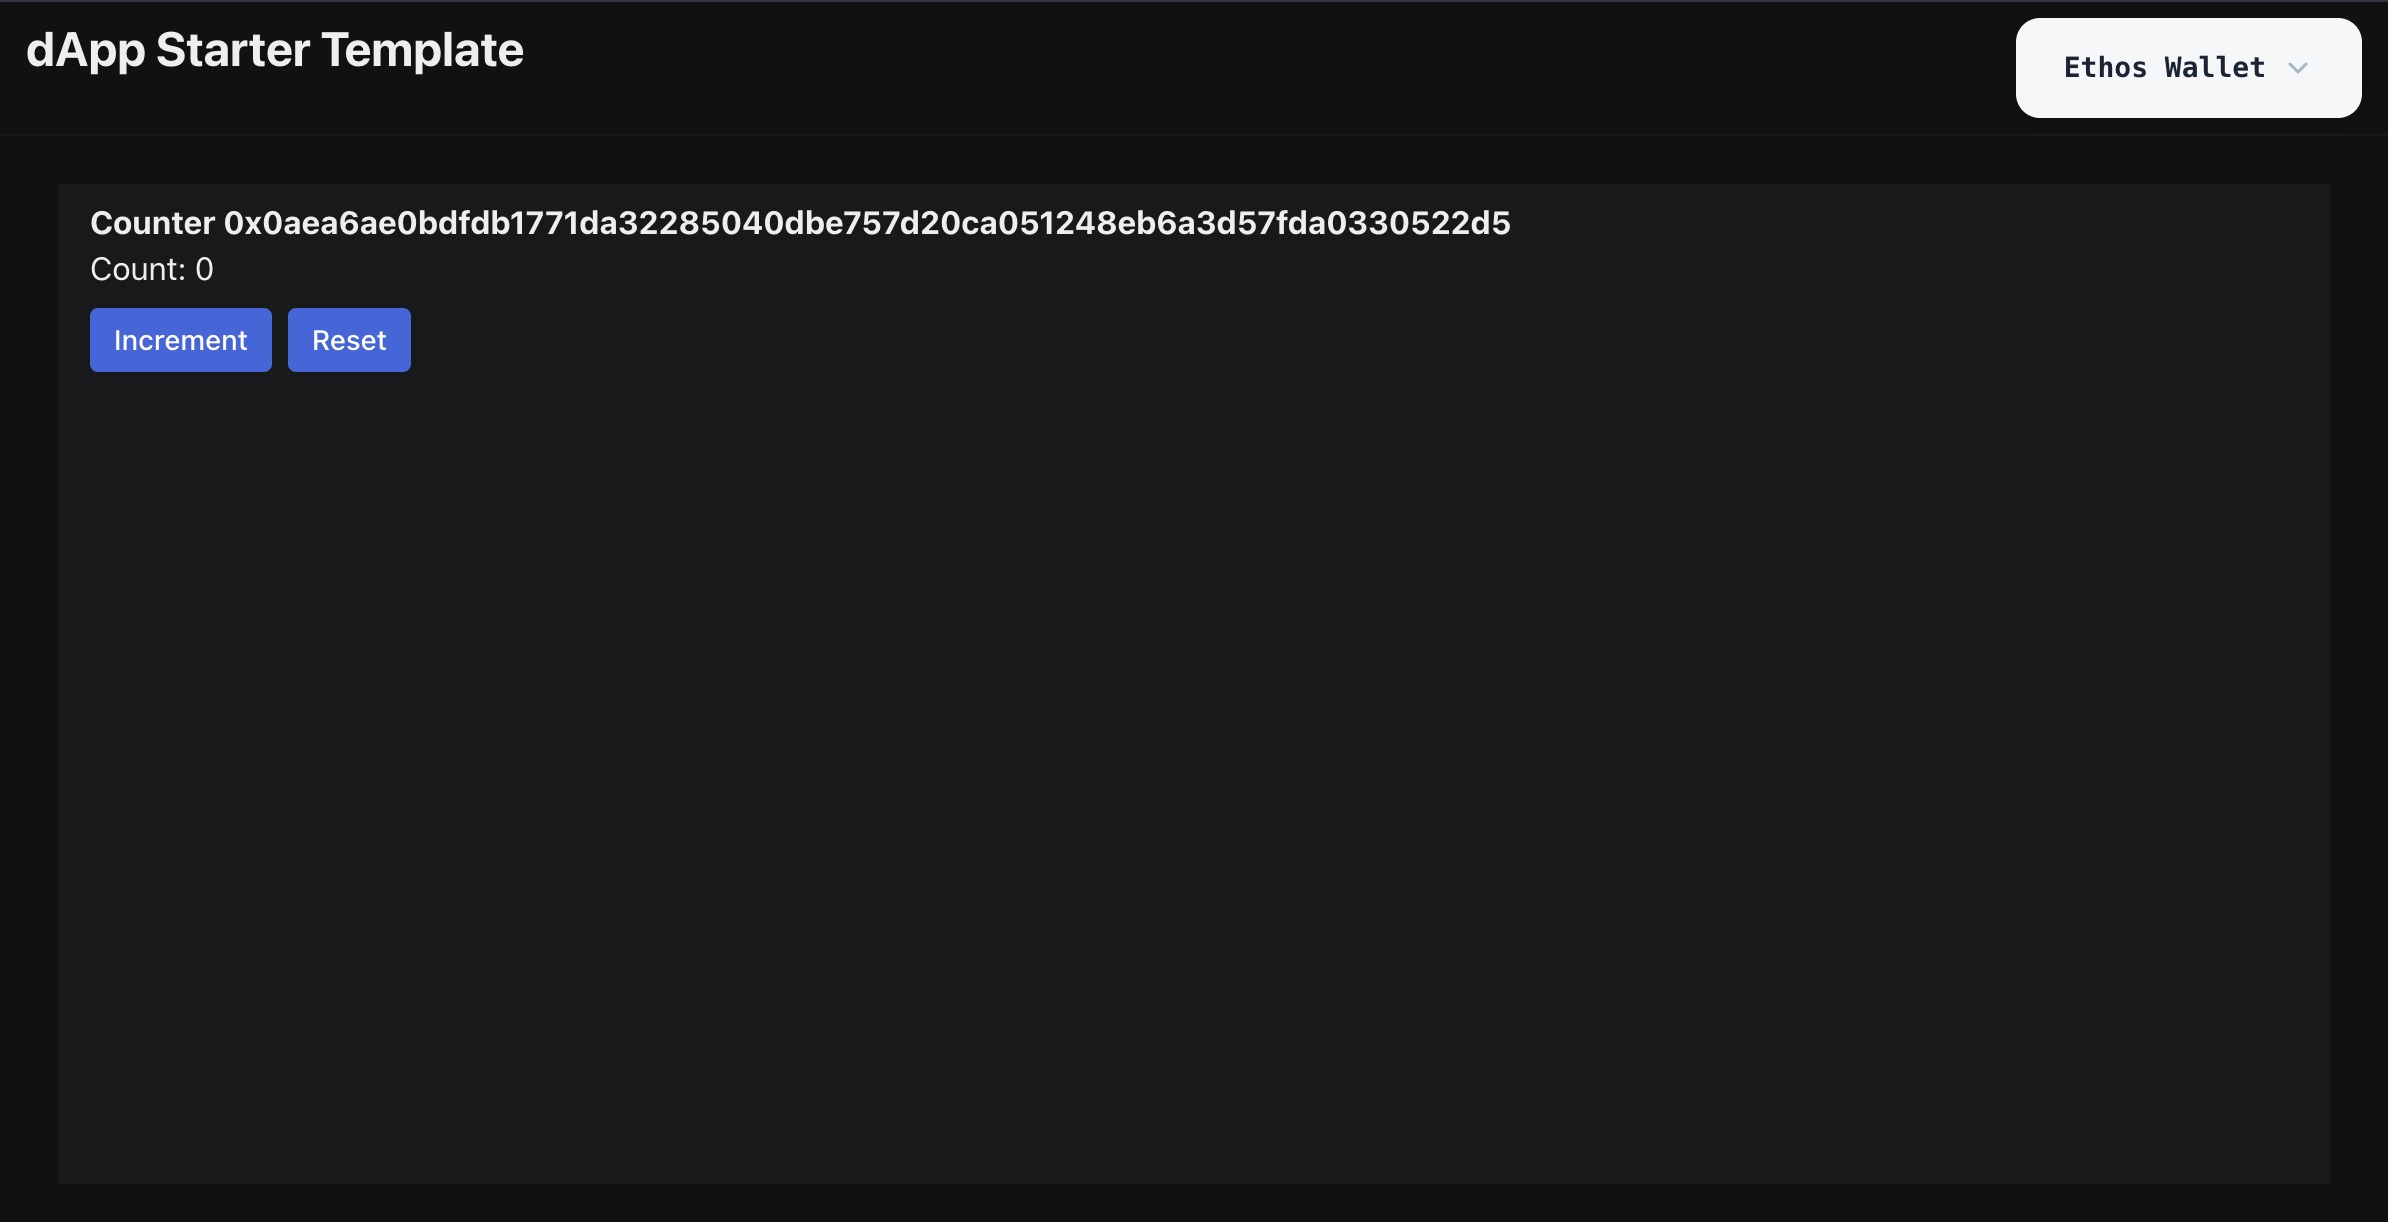
You (and anyone else) can increment it and only you can reset it back to 0.
Now you know how to configure a Sui Move dApp for M2.
Check out CreateCounter.tsx, Counter.tsx and counter.move to understand the app's frontend and onchain logic. As a challenge, try modifying it to increment by 2 each time a user increments.
We can't wait to see what dApps you build and deploy to Movement Network!